Aurangabad Caves Self-Guided Tour 2026 – Cave by Cave Walkthrough
I generally recommend a guide at every site in this region, and Aurangabad Caves is no exception — but I also recognize that this is the one site where a self-guided visit is genuinely more workable than at Ajanta or Ellora, simply because of its smaller scale. If you are doing this on your own, here is the cave-by-cave walkthrough I would want in hand.
Before You Start — How the Site Is Laid Out
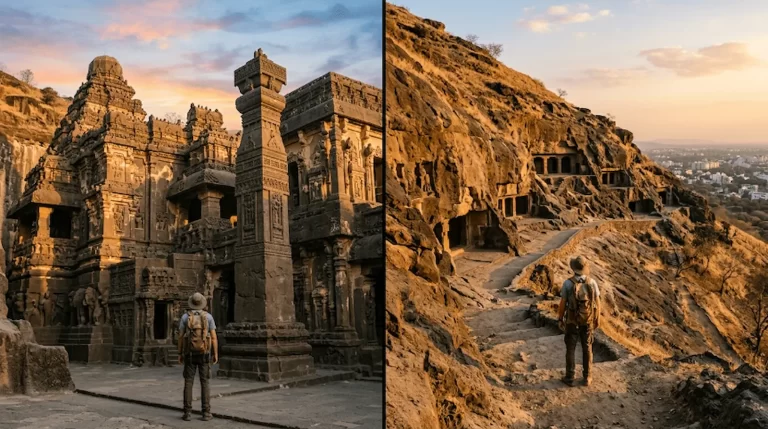
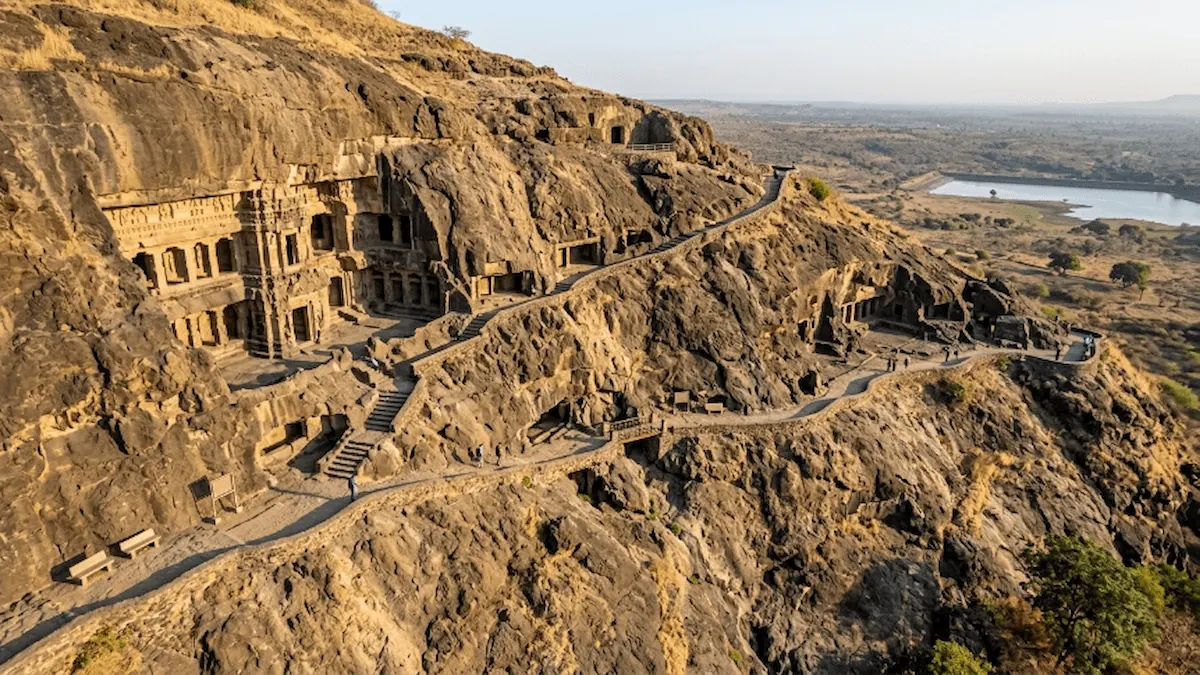
Aurangabad Caves is split into two groups on the same hillside, connected by a short walking path.
Western Group: Caves 1 through 5, generally considered the more architecturally significant cluster, anchored by Cave 3.
Eastern Group: Caves 6 through 9, anchored by Cave 7 and its two major sculptural highlights.
A single ticket covers both groups. Most visitors start at the Western Group, walk the connecting path to the Eastern Group, and return the same way — there is no complex routing decision to make here, unlike the larger sites.
💡 Tip: Budget 1.5 to 2 hours total. If you are tight on time and have to choose, prioritize Cave 3 in the Western Group and Cave 7 in the Eastern Group — together they represent the genuine reason to visit this site.
📍 Aurangabad Caves on Google Maps
Western Group — Cave by Cave
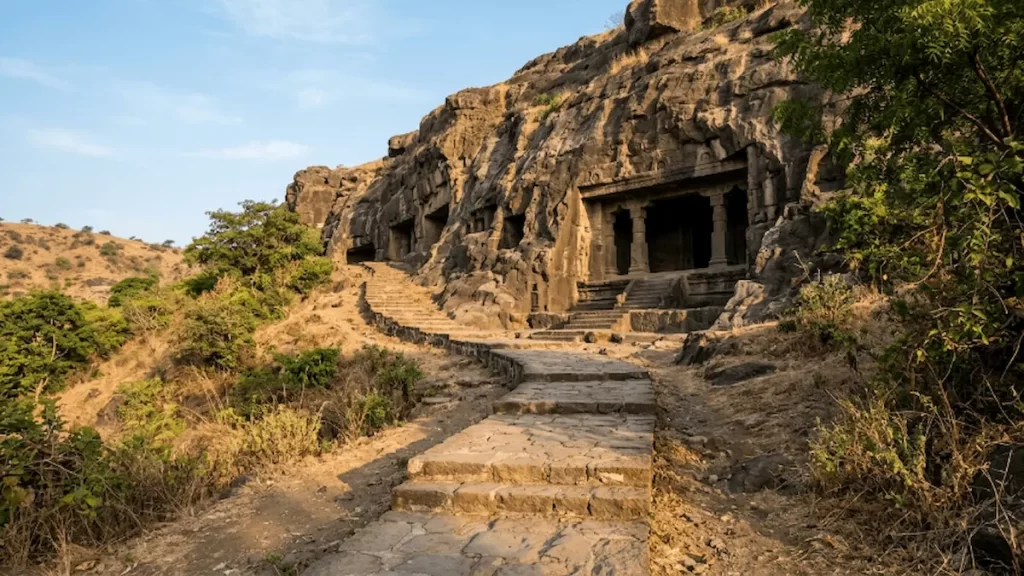
Cave 1:
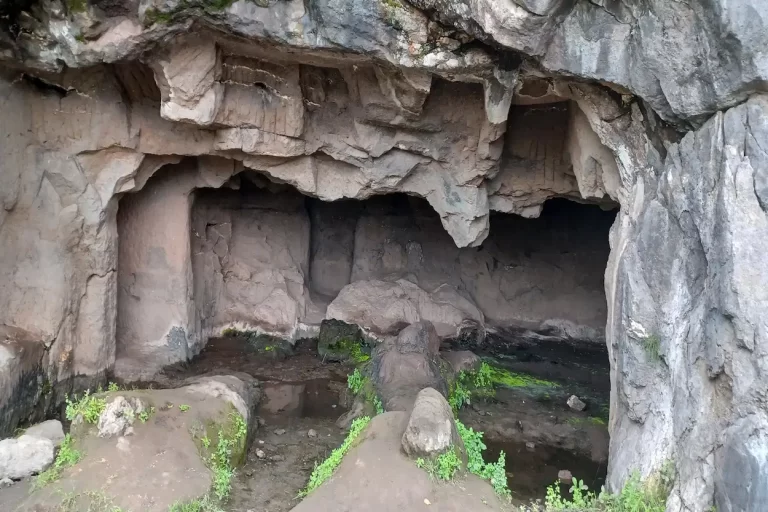
A simpler, partially incomplete vihara. Worth a brief look for context on how the site’s excavation progressed, but not essential if your time is limited. Spend 2-3 minutes here.
Cave 2:
Another modest vihara in the developmental sequence leading toward Cave 3’s more ambitious achievement. A quick pass-through is sufficient — 2-3 minutes.
Cave 3 — the cave to spend real time at:
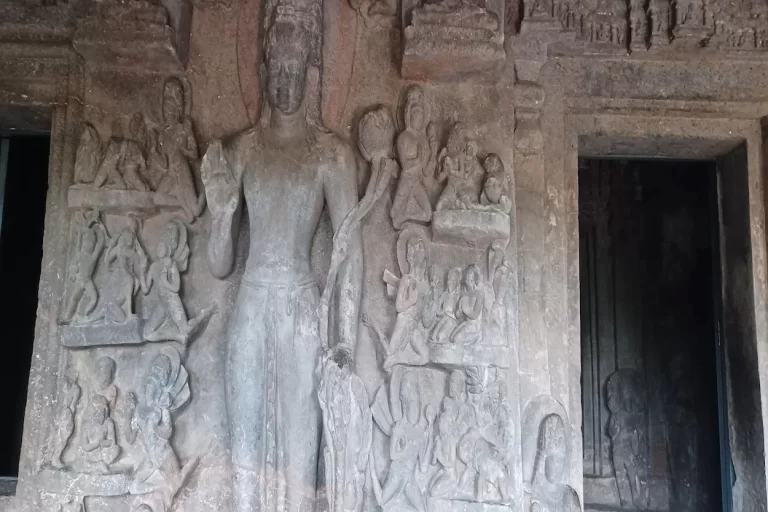
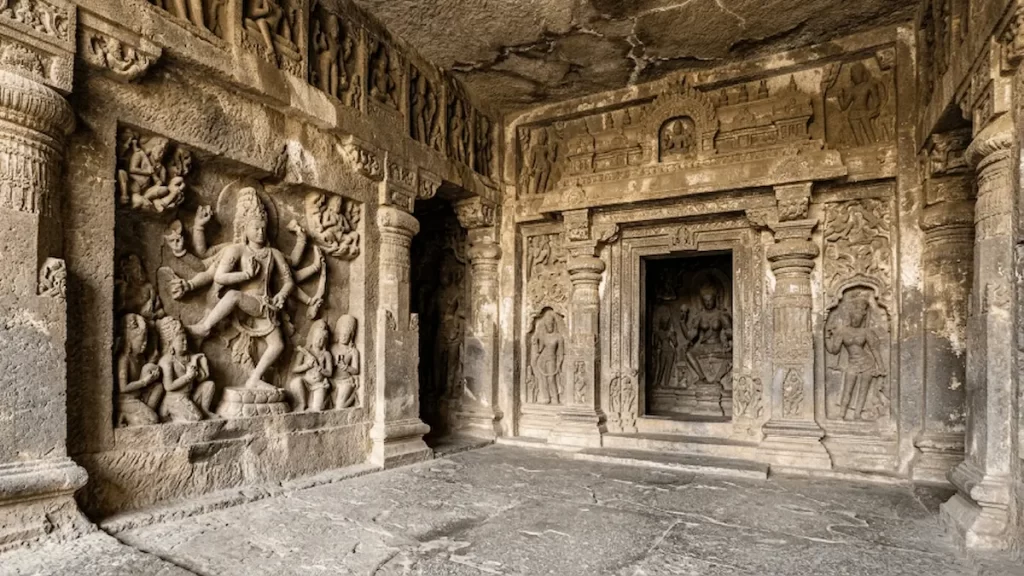
This is, without question, where you should allocate the bulk of your Western Group time. Look specifically at the carved facade — the Bodhisattva figures and celestial beings flanking the entrance. Step back first to take in the full facade composition, then move closer to examine the individual figures’ facial modeling and drapery treatment. Move inside to the shrine chamber, where a seated Buddha is flanked by attendant figures. Spend 15-20 minutes here at minimum.
Cave 4 and Cave 5:
Smaller viharas rounding out the Western Group. Worth a brief look if you have time, but skippable without real loss if you are moving efficiently toward the Eastern Group. 2-3 minutes each, or skip entirely if pressed for time.
💡 Tip: I tell self-guided visitors to resist the urge to rush past Cave 3 quickly because it “looks similar” to the caves before it at first glance. Stop, stand back, and actually look — the quality difference becomes obvious once you give it a moment rather than walking past at the same pace as Caves 1 and 2.
The Walk Between Groups
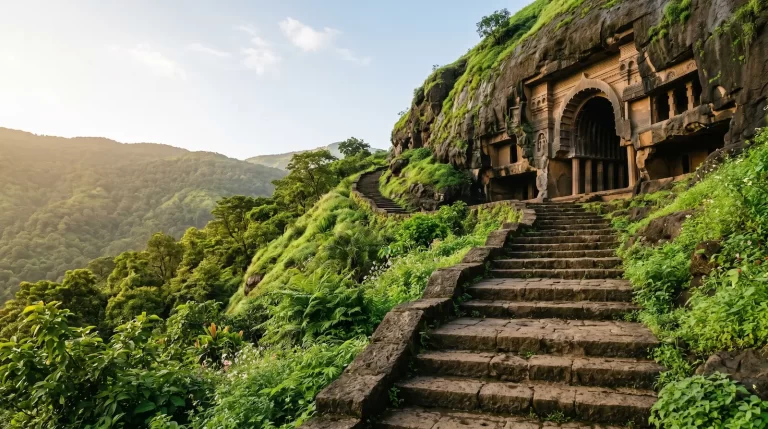
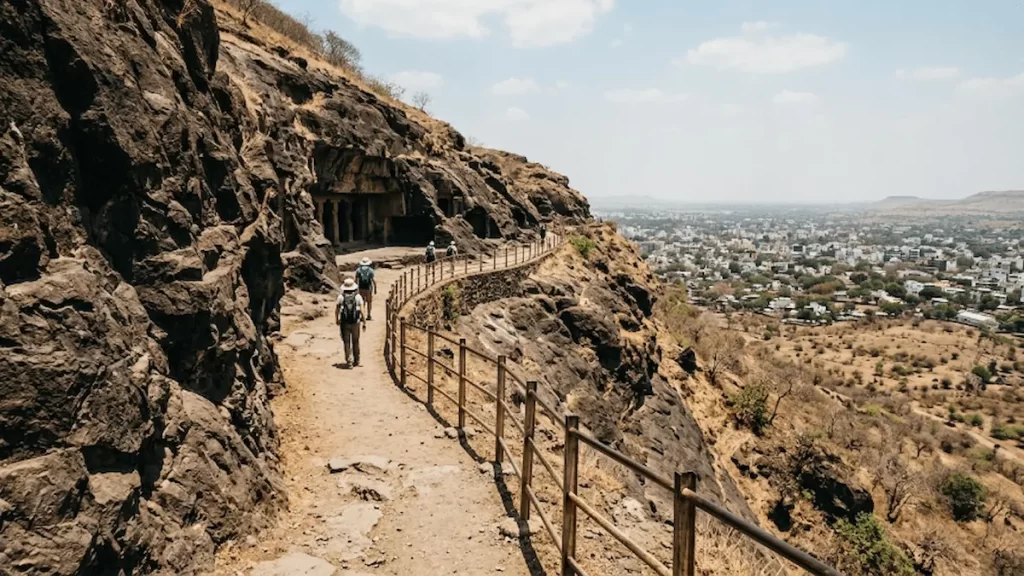
The path connecting the Western and Eastern Groups runs along the hillside and takes approximately 10-15 minutes at a relaxed pace. This is a pleasant stretch in its own right — an elevated view back toward Chhatrapati Sambhajinagar (Aurangabad) opens up at various points along the way.
💡 Tip: Do not rush this walk. It is one of the more underrated parts of the visit, and the elevated city view is worth a few minutes of your time, particularly in the soft light of an early morning visit.
Eastern Group — Cave by Cave
Cave 6:
A simpler vihara, useful for context but not individually essential. 2-3 minutes.
Cave 7 — the cave to spend real time at:
This is the second essential stop on your visit, and arguably the more memorable of the two. Inside, look first for the Tara figure positioned near the main sanctum — a serene, single seated or standing figure representing one of the earlier depictions of this Tantric Buddhist goddess in the region. Then locate the celebrated Dancing Panel: a central female dancer surrounded by six female musicians, each playing a distinct instrument, seven figures in total. Trace the composition with your eyes — dancer to each musician in turn — before photographing it, to properly appreciate the choreography embedded in the relief. Spend 15-20 minutes here at minimum.
Cave 8 and Cave 9:
Rounding out the Eastern Group’s developmental sequence. Brief stops if time allows, skippable if you are managing a tighter schedule. 2-3 minutes each.
💡 Tip: Most self-guided visitors find the Tara figure first since it is nearer the entrance, and then discover the Dancing Panel almost by accident deeper in the cave. Make sure you actively look for both — I have met visitors who left Cave 7 having seen only one of the two major sculptures because they did not realize there was a second one to find.
A Suggested Self-Guided Timeline
0:00-0:05 — Arrive, tickets, brief orientation at the Western Group entrance
0:05-0:10 — Caves 1 and 2, quick pass-through
0:10-0:30 — Cave 3, full attention
0:30-0:35 — Caves 4 and 5 (optional)
0:35-0:50 — Walk between groups, including time for the city view
0:50-0:55 — Cave 6, quick pass-through
0:55-1:15 — Cave 7, full attention — both Tara figure and Dancing Panel
1:15-1:25 — Caves 8 and 9 (optional)
1:25-1:45 — Return walk and departure
💡 Tip: This timeline assumes a focused but unhurried pace. If you want to linger longer at Cave 3 or Cave 7 — which I would genuinely encourage — simply extend those windows and trim the optional caves accordingly.
What a Self-Guided Visit Will Genuinely Miss
I want to be honest about the limitations here, not just sell you on doing it yourself. A self-guided visit will show you what to look at, but not necessarily why it matters historically — the Vakataka-era connections to Ajanta, the Kalachuri-Chalukya dynastic shift visible between the Western and Eastern Groups, the significance of the Dancing Panel as a record of ancient performance culture. None of this is obvious from looking at the sculpture alone.
💡 Tip: If you are self-guiding primarily for flexibility or budget reasons rather than because you do not value the historical context, consider reading up on the Vakataka-Kalachuri-Chalukya connections before you go (see my dedicated history guide), so you at least arrive with the context even without a guide explaining it on-site.
The Alternative — The Same Walkthrough, With the History Included
This cave-by-cave structure works well as a self-guided framework, but a guide adds exactly what a walkthrough like this cannot: the historical connections, the dynastic context, and the kind of detail that turns “this is Cave 3” into a genuinely memorable explanation of why Cave 3 matters.
👉 See Aurangabad Heritage Tour Details & Book — this same route, with full historical context included.
FAQ
Q1: Can I visit Aurangabad Caves without a guide?
Yes — Aurangabad Caves is genuinely more manageable self-guided than Ajanta or Ellora, given its smaller scale (12 caves across two compact groups) and straightforward linear layout. A single ticket covers both groups, and the walking route is simple to follow without assistance.
Q2: Which caves should I prioritize on a self-guided visit?
Cave 3 in the Western Group and Cave 7 in the Eastern Group are the two essential stops, together representing the genuine artistic significance of the site. The remaining caves (1, 2, 4, 5, 6, 8, 9) are worth brief visits for context but are not individually essential.
Q3: How long does a self-guided visit to Aurangabad Caves take?
1.5 to 2 hours for a complete visit covering both groups at a relaxed pace, including 15-20 minutes each at Cave 3 and Cave 7, and 10-15 minutes for the walk between the two groups.
Q4: What will I miss without a guide at Aurangabad Caves?
Primarily historical context — the Vakataka-era connections to Ajanta visible in Cave 3, the Kalachuri-Chalukya dynastic transition reflected in the Eastern Group, and the cultural significance of Cave 7’s Dancing Panel as a record of ancient Indian dance and court culture. The sculpture itself remains visible, but its full meaning is harder to access without this context.
Q5: What should I look for specifically in Cave 7?
Two distinct sculptures: the Tara figure near the main sanctum, and the Dancing Panel deeper in the cave — a composition of seven figures, a central dancer surrounded by six musicians. Many self-guided visitors find only one of these two highlights, so actively look for both.
👉 Related Posts You Might Like:
- Aurangabad Caves – Complete Guide 2026
- Aurangabad Caves History – 1,500 Year Old Buddhist Secret
- Aurangabad Caves Timings and Entry Fees
- How to Reach Aurangabad Caves
- Hidden Caves of Aurangabad – What Most Tourists Miss